How We Built a Professional-Feeling Sprung Dance Floor Without the £15,000 Price Tag
Professional sprung dance floors are brilliant, but they can cost £10,000 to £20,000 plus once you factor in materials, area size and installation. Here is exactly how we built a sprung-feeling studio floor at Artists In Motion using a practical DIY approach, at a fraction of the cost.
What this case study covers
- Why sprung floors matter for dancer comfort and impact reduction
- Real-world pricing context for professional systems
- Our AIM DIY sprung-floor build method, step by step
- A realistic cost comparison, and honest limitations
Why sprung floors matter in dance studios
A sprung dance floor is designed to absorb impact and return energy. That matters for jumps, landings, repetitive training, and growing bodies. It is one of the biggest upgrades a studio can make for comfort and joint care. The catch is that proper sprung systems use engineered panels, shock pads and precision installation, which is why the pricing escalates quickly.
What dancers feel
- Less “thud” on landings
- More forgiving underfoot for repeated jumps
- Reduced fatigue during longer sessions
What studios deal with
- High upfront cost for professional sprung systems
- Extra costs for installation, trims and delivery
- Choosing between safety and budget, when you should not have to
How much do professional sprung dance floors cost?
Pricing varies by studio size and specification, but professional sprung floors regularly fall into the £60 to £150 per m² range before installation, and can easily climb higher depending on system type and finish. That is why a modest studio can quickly reach £12,000 to £20,000 plus.
Explore professional options (references)
We recommend reviewing the leading suppliers so you can see the types of systems involved and why they are priced at a premium.
- Harlequin Flexity sprung floor system
- Harlequin WoodSpring system
- Le Mark sprung dance floors
- Sprung floor pricing context and overview
Note: exact quotes depend on studio size, specification, delivery and installation requirements.
Why AIM needed a budget-friendly alternative
We wanted a space that felt genuinely supportive underfoot, not just a surface that looked like a dance floor. Vinyl-only dance surfaces are useful for grip and consistency, but they do not provide the same shock absorption as a sprung base. We needed something strong, safe, and realistic for an independent dance school budget.
Our DIY sprung floor solution at AIM Studios
We focused on the mechanics: compression, spacing, and spreading load across panels. The build below created a sprung-feeling floor using common materials, layered properly.
Quick overview of the build
- OSB boards as the structural base layer
- Pool noodles cut into 3-inch sections, glued underneath, spaced about 1 foot apart
- Interlocking gym mats as a cushion layer
- Oak flooring as the finished studio surface
Step 1, OSB boards as the base
OSB is flat, stiff, affordable, and easy to work with. It creates a stable platform that distributes load, which is essential for a consistent feel.
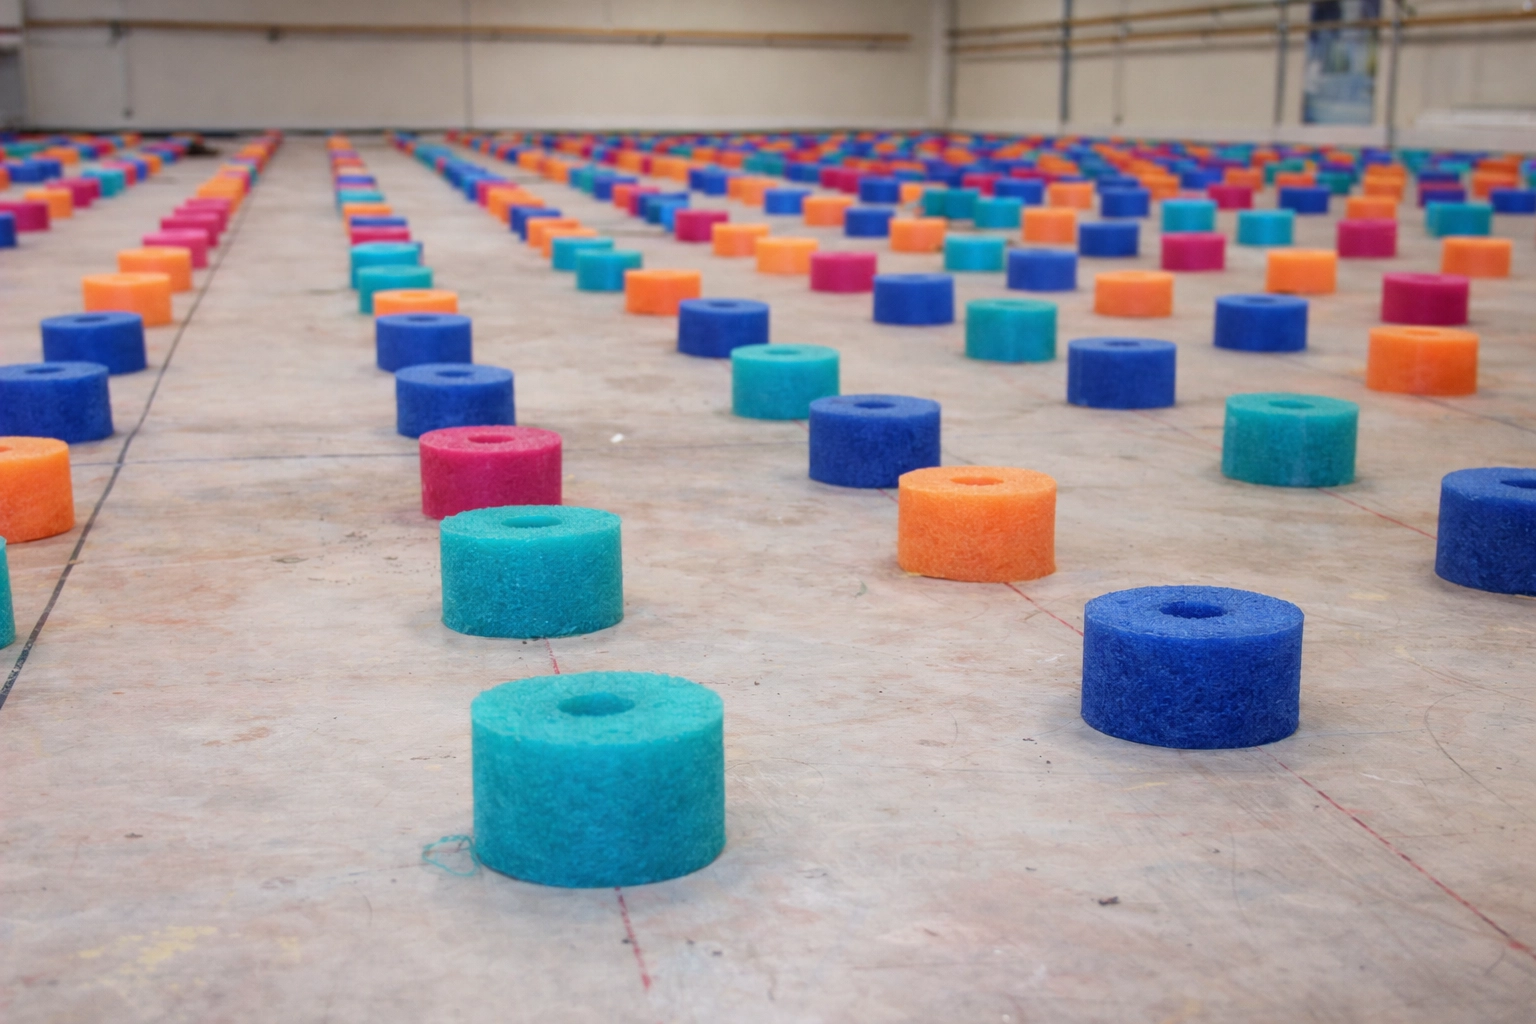
Step 2, creating the “spring” using pool noodles
We cut pool noodles into 3-inch sections and glued them to the underside of the OSB boards, spacing them roughly every 1 foot. Then we flipped the boards so the noodle sections faced the existing subfloor. The noodle pieces compress and rebound under movement, creating the sprung sensation.
Video tutorial reference
This tutorial is a helpful visual reference for understanding how a DIY sprung floor behaves and how the layers work together.
Prefer to watch on YouTube directly? Open the video here.
Step 3, adding a cushion layer using gym mats
We laid interlocking gym mats over the OSB. This increased comfort, softened landings, and helped reduce noise and vibration.
Step 4, finishing with oak flooring
Finally, we installed oak flooring as the top surface. This gives a clean, professional look and a strong surface that holds up well under regular class use.
Cost comparison, DIY vs professional
Here is a realistic cost comparison for context. Your exact cost will vary depending on studio size, material choice and sourcing.
| Component | What we used | Estimated cost range |
|---|---|---|
| Base layer | OSB boards | £50 to £100 |
| Spring layer | Pool noodles cut into 3-inch sections | £10 to £20 |
| Cushion layer | Interlocking gym mats | £50 to £150 |
| Finished surface | Oak flooring | £150 to £400 |
| Total DIY floor | Layered system | £260 to £670 |
| Typical professional sprung system | Engineered panels and shock pads, installed | £12,000 to £20,000 plus |
Honest limitations and safety considerations
Important, read this first
- This is not a certified sprung floor system
- It will not match the precision, warranty or compliance of professional products
- For touring companies, full-time vocational training, or certified installations, a professional system is still the gold standard
For an independent dance school running regular classes, this approach gave us a very meaningful improvement over hard flooring. It helped us create a space that feels supportive underfoot, looks professional, and stays within budget.
Final thoughts from AIM
If you can afford a professional sprung floor, do it. Brands like Harlequin and comparable systems exist for a reason. But if you cannot, doing nothing is worse. Our DIY build created a practical middle ground between “hard floor” and “£15,000+ installation”. We are proud of it because it allowed us to prioritise dancer comfort while still investing in the wider school.
If you are considering a similar setup, tell us your studio dimensions and what your current floor is made of. We can share a simple materials checklist and spacing guidance based on what worked in our AIM studios.